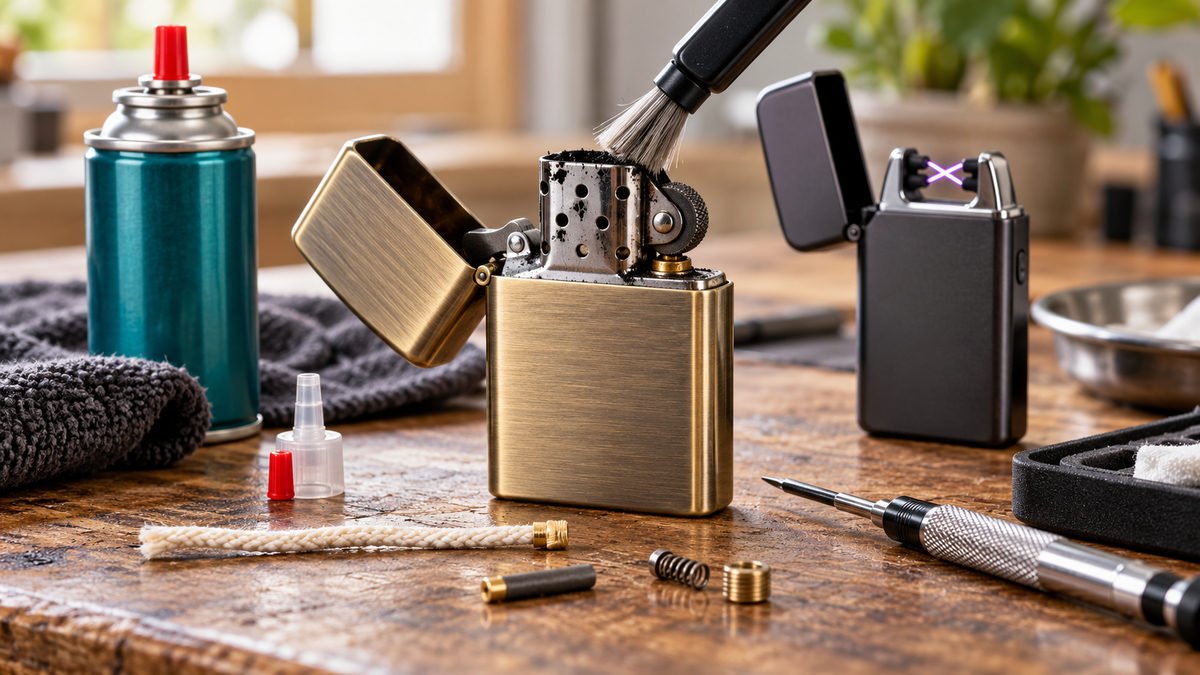
Does your lighter have a weak flame, clogged nozzle, dirty ignition, or a battery that no longer charges reliably? These lighter maintenance tips can help you clean, refill, troubleshoot, and store it safely. Different lighter types require different cleaning methods, fuels, replacement parts, and precautions. Using the wrong fuel, overfilling a reservoir, or exposing electrical parts to moisture can cause damage or fire. This guide explains how to maintain butane, wick, electric arc, disposable, and vintage lighters. You will also learn when repair makes sense and when replacement offers the safer choice.
1. Lighter Maintenance Tips for Every Lighter Type
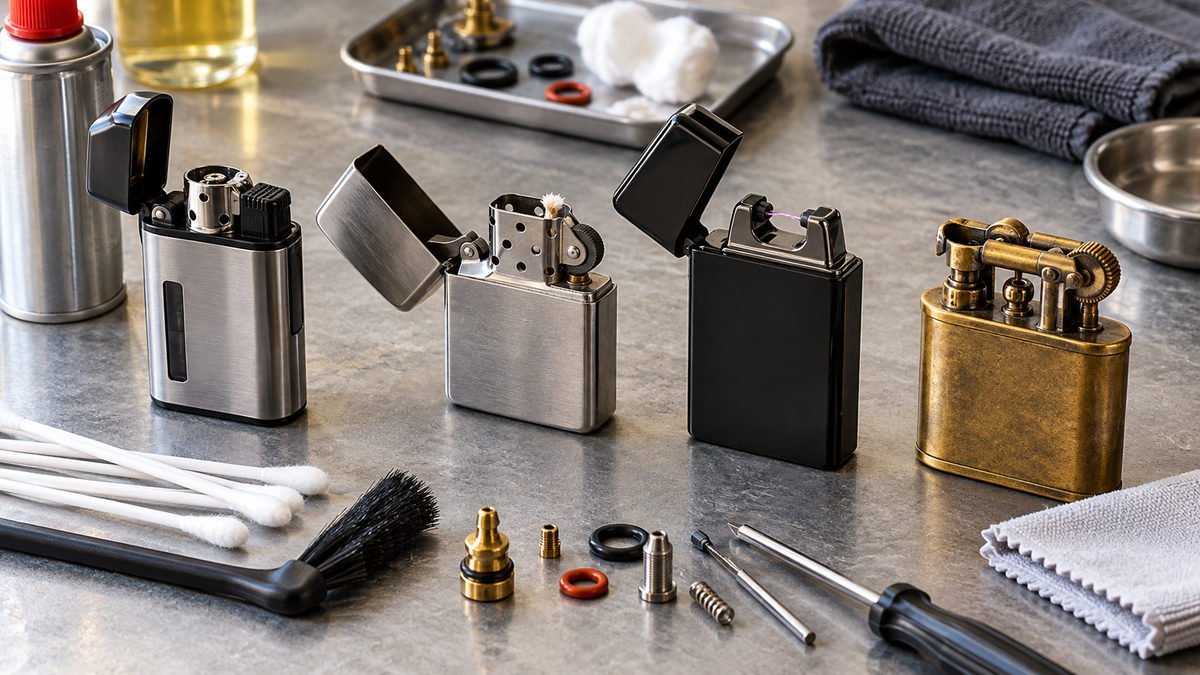
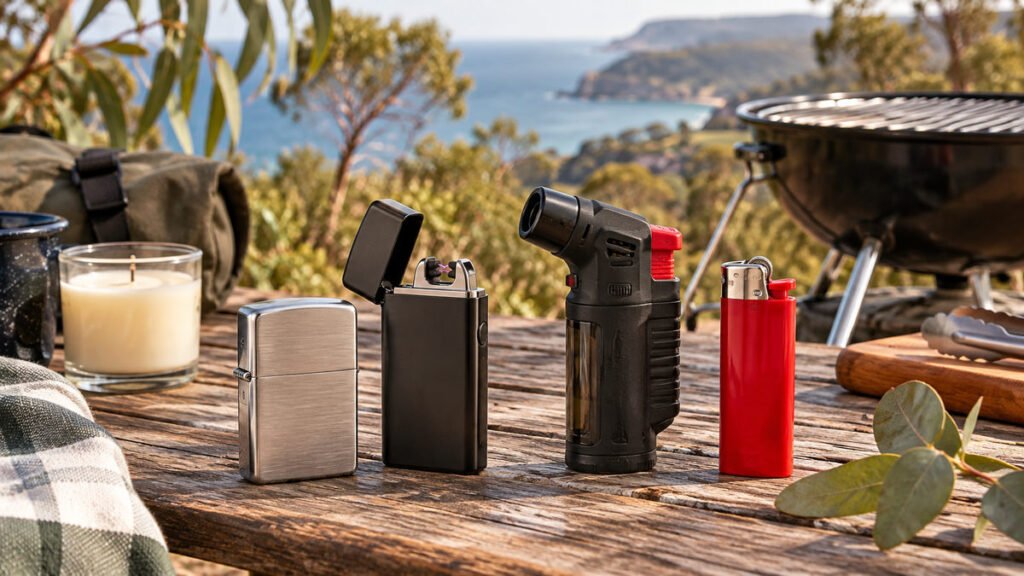
Every lighter has different working parts, so one cleaning method cannot suit them all. Refillable butane lighters use fuel valves, jets, seals, and burners. Wick-style lighters depend on fuel-soaked cotton, a wick, a chimney, and a flint wheel. Compare every type in our guide to lighters in Australia.
Meanwhile, electric arc lighters use batteries, charging contacts, electrodes, and electrical controls. Disposable lighters generally need simple inspection only, while vintage models may contain delicate mechanisms, aged seals, and fragile finishes.
- Refillable butane lighters: Inspect the valve, nozzle, seals, flame control, and fuel level.
- Wick-style lighters: Check the wick, flint, chimney, cotton packing, and fuel odour.
- Electric arc lighters: Examine the battery, charging port, electrodes, casing, and safety switch.
- Disposable lighters: Look for cracks, leaks, weak ignition, and damaged child-resistant parts.
- Vintage lighters: Assess corrosion, worn seals, missing parts, and structural weakness before use.
Inspect your lighter before every use. Additionally, clean the exterior monthly if you use it regularly. Perform deeper servicing whenever the flame changes, ignition weakens, or the lighter develops an unusual smell.
Your inspection checklist should include:
- Fuel leaks, hissing sounds, or unusual odours.
- Cracks, dents, loose screws, or broken hinges.
- Clogged nozzles, dirty burners, or blocked air openings.
- Weak sparks, damaged wiring, worn electrodes, or charging faults.
- Rust, corrosion, swollen batteries, or heat-damaged surfaces.
Proper maintenance can extend a lighter’s useful life and reduce avoidable failures. However, stop using any lighter with a persistent leak, damaged fuel tank, exposed wiring, swollen battery, severe corrosion, or cracked housing.
2. Lighter Safety Tips Before Cleaning or Refilling
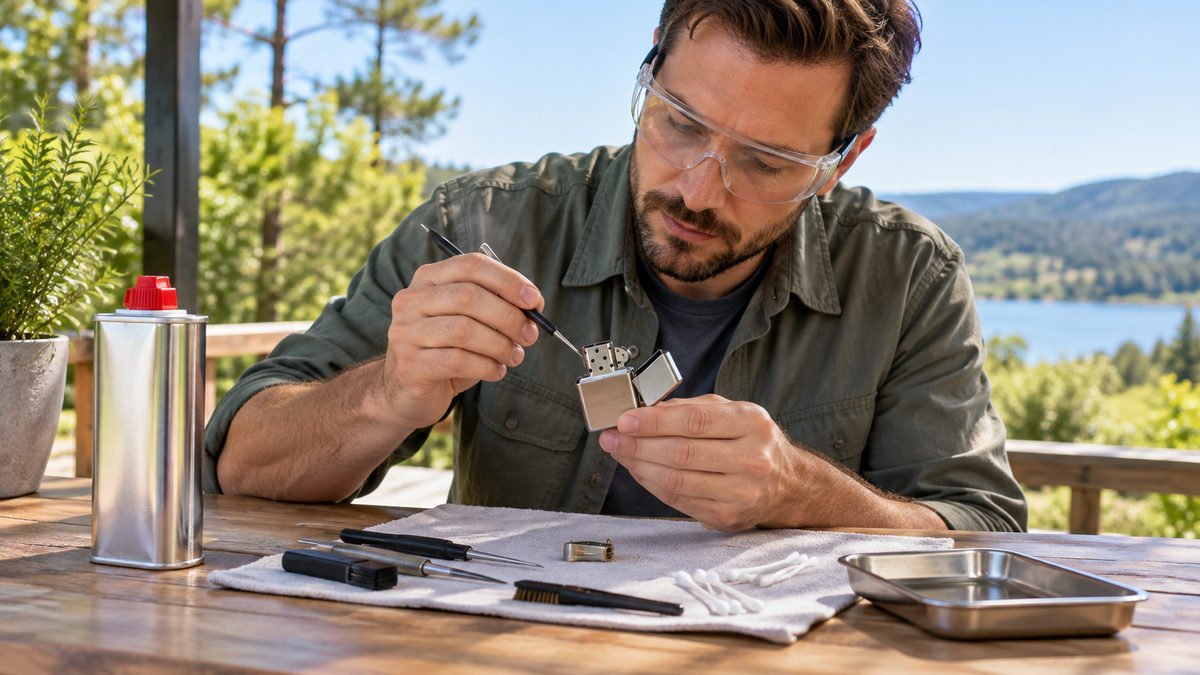
Safety starts before you open the lighter or reach for a refill can. Work outdoors or in a well-ventilated area with plenty of fresh air. Keep cigarettes, candles, pilot lights, heaters, hot surfaces, sparks, and other ignition sources far away. Read our guide to lighter safety and storage.
Keep lighter fuel away from heat, direct sunlight, children, pets, and unauthorised users. Store the container according to its label, and never leave it inside a hot vehicle. Furthermore, avoid working near switches or equipment that could create a spark.
Allow a recently used lighter to cool completely before cleaning, adjusting, opening, or refilling it. Wear suitable eye protection when handling pressurised butane or removing tightly fitted components. Never deliberately inhale fuel vapours, even during brief servicing.
Never test for leaks with a flame. Instead, inspect the valve and housing visually, notice unusual odours, and follow the manufacturer’s approved leak-checking instructions. A soapy-water check may suit some external fittings, but only use it when the manufacturer permits this method.
If a lighter leaks fuel, stop using it immediately. If safe, move it away from ignition sources without touching hot or damaged parts. Ventilate the area, keep people away, and follow local hazardous-waste instructions for disposal.
Australian owners should follow local fire-safety guidance and product labels. For general chemical-handling information, consult Safe Work Australia’s chemical safety guidance.
Responsible disposal matters because even an “empty” lighter may retain flammable vapour. Contact your local council or waste facility before disposing of refill cans, damaged lighters, fuel containers, or batteries.
3. How to Clean a Refillable Lighter and Remove Soot
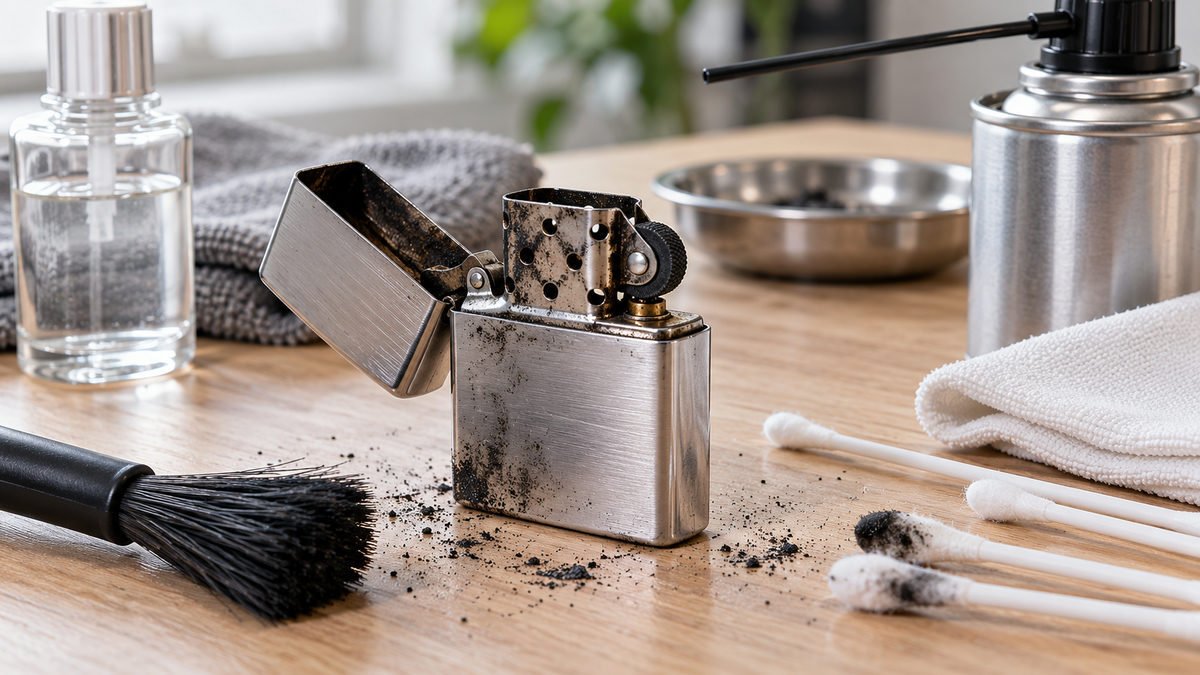
Prepare a lint-free cloth, soft brush, cotton swabs, manufacturer-approved cleaner, and carefully used compressed air. Have replacement flints, wicks, seals, or other compatible consumables ready if inspection reveals wear.
- Make the lighter safe. Confirm it feels cool, extinguish the flame, and isolate or empty fuel where the design requires it.
- Clean the exterior. Wipe away fingerprints, oil, dust, and residue with a barely damp cloth. Do not saturate the casing.
- Clear the burner area. Use a soft brush around the burner, nozzle, chimney, and air openings. Apply short, careful bursts of compressed air.
- Remove soot gently. Use a dry cotton swab or approved cleaner around the burner area. Never scrape delicate jets, electrodes, or ignition wheels.
- Clean ignition parts. Brush around flint wheels and contacts. Clean coils or charging contacts only according to the lighter’s design.
- Inspect before reassembly. Check seals, screws, hinges, caps, valves, and adjustment controls for damage or looseness.
Soot can build up when a flame burns unevenly, receives poor airflow, or uses contaminated fuel. Additionally, pocket lint and dust can block small jets and air passages. Clean around these areas without pushing debris deeper inside.
Water can damage electric lighters, charging circuits, batteries, and metal contacts. It can also enter butane valves and contribute to corrosion. Therefore, keep moisture away from fuel systems, ignition parts, and charging ports.
If a component becomes damp, disconnect it from power and let it dry naturally in a clean, ventilated place. Do not use a hairdryer, heater, open flame, or direct high heat. Excessive heat can damage seals, batteries, finishes, and pressurised parts.
Prevent future clogging by using clean, manufacturer-approved fuel. Keep caps closed, avoid storing lighters loose with pocket lint, and protect the nozzle when possible. Moreover, clean the lighter before residue becomes thick or difficult to remove.
4. How to Refill a Butane Lighter Safely
Choose refined butane recommended by the lighter manufacturer. Fuel requirements vary between designs, and some models need specific adapters or fuel grades. Using unsuitable fuel may clog jets, damage seals, or create unstable flames. For detailed steps, read how to refill a butane lighter.
- Lower the flame. Turn the flame adjustment to its lowest setting, extinguish the lighter, and allow it to cool completely.
- Choose a safe location. Move outdoors or into a well-ventilated area. Remove flames, sparks, heaters, hot surfaces, and unnecessary bystanders.
- Locate the valve. Turn the lighter upside down and identify the refill valve. Find the flame-adjustment control if the model has one.
- Release trapped air. Follow the manufacturer’s procedure with a suitable non-sparking tool. Vent cautiously because liquid fuel and vapour may escape.
- Align the can. Place the butane nozzle straight over the refill valve. Press firmly for short intervals instead of forcing continuous pressure.
- Avoid overfilling. Stop when the manufacturer’s instructions indicate a full reservoir. Do not continue because the lighter still feels cold.
- Allow stabilisation. Wait several minutes before testing. Fuel and internal pressure need time to settle safely.
- Test carefully. Adjust the flame gradually and watch for hissing, odours, leaks, sputtering, or an unstable flame.
Overfilling can force liquid fuel into areas that should contain vapour. As a result, the lighter may flare, leak, or behave unpredictably. Never refill a warm lighter, use incompatible adapters, or ignite it immediately after filling.
A large flame does not automatically provide better performance. In fact, it usually consumes fuel faster and may create more heat than necessary. Set the flame only high enough for the intended task.
Store butane containers sealed, upright, cool, dry, and well ventilated. Keep them away from ignition sources and follow the product label, council guidance, and local fire-safety requirements. Never store refill cans near ovens, boilers, batteries, or direct sunlight.
5. Troubleshooting Weak Flames, Ignition Problems, and Leaks
A lighter may fail because the tank is empty, air has entered the fuel system, or the nozzle has become blocked. Other causes include a low flame setting, worn flint, damaged piezo igniter, wet wick, poor fuel, or a faulty seal. Learn more in our butane lighters guide.
Check problems in a safe order. First, inspect the casing and smell for fuel. Next, check the fuel level, ignition strength, nozzle cleanliness, airflow, and visible damage. Avoid repeated ignition attempts when you notice leaking, hissing, or strong fuel odour.
A weak or flickering flame may improve after cleaning the nozzle, removing trapped air, or adjusting the flame slightly. Moreover, allow a cold lighter to warm naturally in your hand before testing. Never warm it with a heater, flame, hot water, or direct sunlight.
| Symptom | Likely cause | Safe action | When to stop |
|---|---|---|---|
| No flame | Empty tank, blocked nozzle, or weak ignition | Check fuel, clean gently, and inspect the spark | Stop if fuel leaks or the casing is damaged |
| Weak flame | Low adjustment, poor fuel, trapped air, or partial blockage | Clean the nozzle and adjust gradually | Stop if the flame remains unstable |
| Flickering flame | Uneven fuel flow, wind, contamination, or damaged jet | Move away from wind and inspect the burner | Stop if sputtering continues indoors or outdoors |
| Hissing sound | Loose valve, damaged seal, or fuel leak | Extinguish, isolate, ventilate, and stop using it | Stop immediately and arrange safe disposal or repair |
| No spark | Worn flint, faulty piezo, dirty contact, or dead battery | Replace the compatible part if safe | Stop if wiring, electrodes, or the battery look damaged |
Clogged nozzles, damaged seals, loose valves, cracked housings, and repeated ignition failures require caution. A professional repair may suit collectible, pressurised, expensive, or mechanically complex lighters.
Replacing the lighter is safer when it has a persistent leak, severe corrosion, damaged fuel tank, cracked housing, exposed wiring, or swollen battery. Do not keep troubleshooting a component that could release fuel or electrical energy unexpectedly.
6. Replacing Flints, Wicks, Coils, and Maintaining Electric Lighters
Before replacing a flint, empty or isolate the fuel system when the lighter design requires it. Remove the flint spring or retaining screw, take out the old flint, and install the correct replacement.
Reassemble the spring carefully, then test the ignition wheel without forcing it. A wheel that feels jammed may indicate incorrect sizing, corrosion, or a damaged mechanism. Therefore, stop if the wheel binds or the lighter produces unusual sparks.
To replace a wick, remove the insert and pull the old wick out carefully. Install compatible wick material, trim the top evenly, and reposition the fuel-soaked cotton or packing correctly. Replace the wick when it becomes short, heavily carbonised, or difficult to light.
Zippo Lighter Maintenance
Zippo-style lighters need a clean chimney, a working flint, a correctly positioned wick, and suitable lighter fuel. Brush soot from the chimney, replace worn flints, and trim only the blackened wick section.
Inspect the cotton or packing when fuel dries quickly or the flame burns poorly. Additionally, use only the fuel specified for the insert. Automotive fuel, household solvents, and incompatible liquids can damage the lighter and create dangerous vapours.
Electric Lighter Maintenance
Keep the arc chamber free from ash, dust, and debris. Clean charging contacts carefully with a dry, lint-free tool, and follow the manufacturer’s charging instructions. Avoid overcharging when the manufacturer warns against leaving the lighter connected.
Protect the battery from heat, moisture, crushing, and prolonged direct sunlight. If water reaches the lighter, disconnect it from charging immediately. Do not activate it, open the battery pack, or use metal tools near live contacts.
Allow the lighter to dry safely and follow the manufacturer’s inspection instructions before reuse. Never scrape electrodes, bend arc components, or open sealed battery packs. Replace the unit when the battery swells, overheats, leaks, or loses its casing integrity.
Vintage Lighter Restoration
Photograph a vintage lighter before cleaning or disassembly. Preserve attractive patina when appropriate, and use gentle cleaning methods instead of aggressive polishing. Harsh abrasives can remove original plating, engravings, and historical finish.
Rare or valuable pieces deserve assessment from a specialist. Do not use a vintage lighter until its fuel system, seals, ignition, and structural condition receive a professional assessment when necessary.
Conclusion
Safe lighter maintenance means using the correct fuel, cleaning the right components gently, and checking for leaks or damage. Replace worn flints and wicks, protect electric batteries from heat and moisture, and store fuel responsibly.
Regular checks can extend a lighter’s lifespan. However, persistent leaks, severe corrosion, damaged batteries, cracked housings, and structural failures mean you should stop using or replace it.
Use the inspection checklist before your next refill or repair, and follow the manufacturer’s instructions carefully. Consult a qualified lighter repair specialist whenever a valuable, vintage, pressurised, or mechanically complex lighter needs work.
For carefully selected smoking accessories and lighter-related products, visit Sweet Puff Australia. Always choose products that match your intended use, and maintain them according to the manufacturer’s safety guidance.