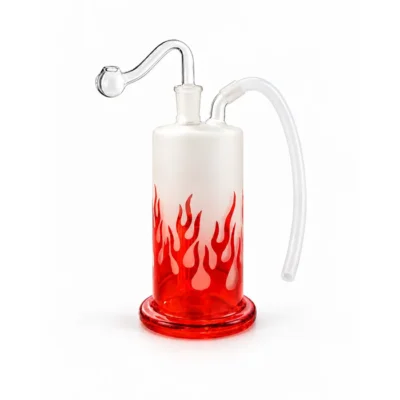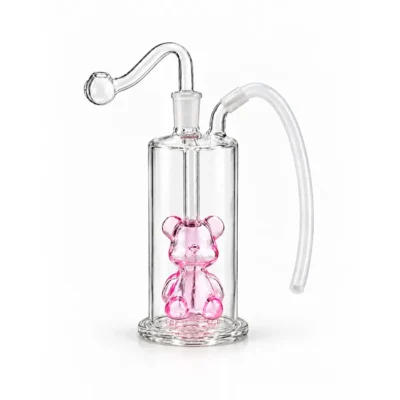
Does your bubbler taste harsh, produce weak airflow, or smell stale after repeated use? Learning how to clean a bubbler helps remove resin, ash, hard-water residue, and trapped moisture. It also protects the glass from damage caused by harsh tools or sudden temperature changes. This guide explains safe soaking, rinsing, clog removal, alcohol-free methods, drying, deodorising, maintenance, and common mistakes.
1. Why Regular Bubbler Cleaning Matters
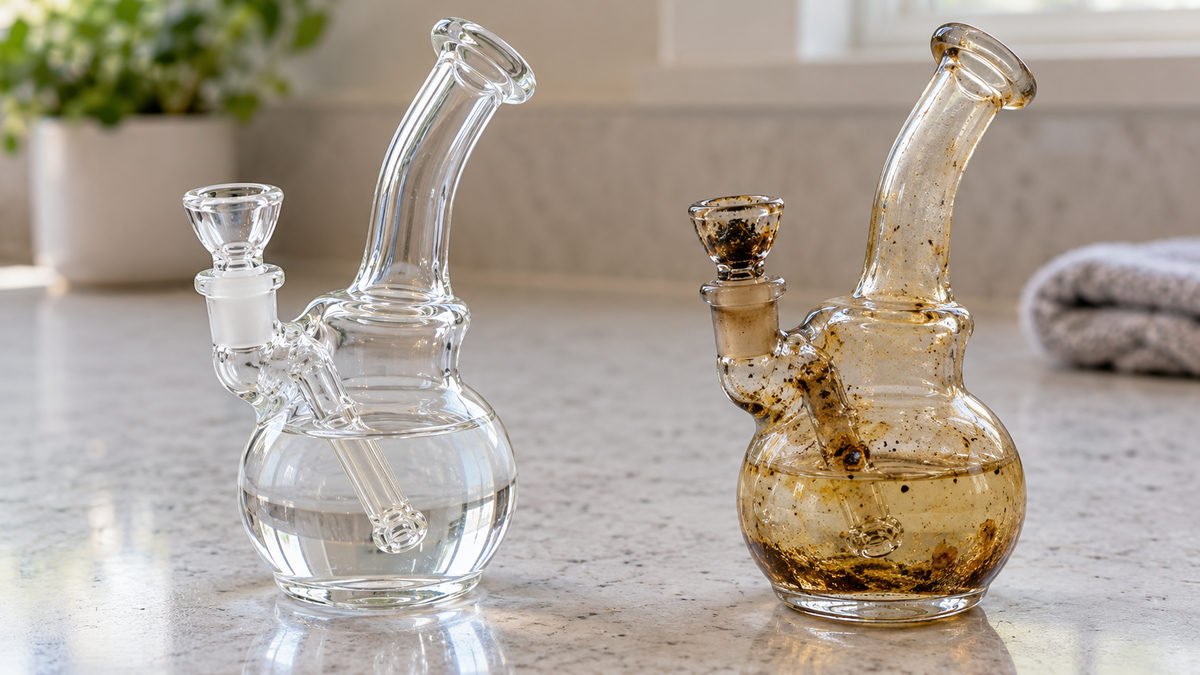
Residue changes the way your bubbler tastes. Old resin, ash, and leftover oils can create a harsh flavour that covers the intended experience. Therefore, regular cleaning keeps each session fresher and more consistent.
Clean airways also make a noticeable difference. Resin can narrow the downstem, bowl opening, and small percolator holes. As a result, the bubbler may feel harder to draw through, even when the glass looks clear.
Moisture creates another maintenance problem. Old water can collect particles and leave a stale smell inside the chamber. Additionally, damp residue can support unwanted microbial growth when the bubbler remains dirty for long periods.
Routine care also protects the glass itself. Fresh residue usually dissolves more easily than thick, hardened buildup. Moreover, removing deposits early helps preserve clarity and reduces the need for aggressive scrubbing.
A quick rinse suits regular upkeep between uses. However, visible resin, cloudy film, unpleasant odours, or reduced airflow call for a deeper clean. Most frequent users benefit from a deeper clean at least weekly.
Regular maintenance can also extend the bubbler’s usable life. Clear holes allow water to move properly through the chamber. Therefore, a simple cleaning routine helps protect both performance and appearance.
2. Supplies and Safety Before You Start
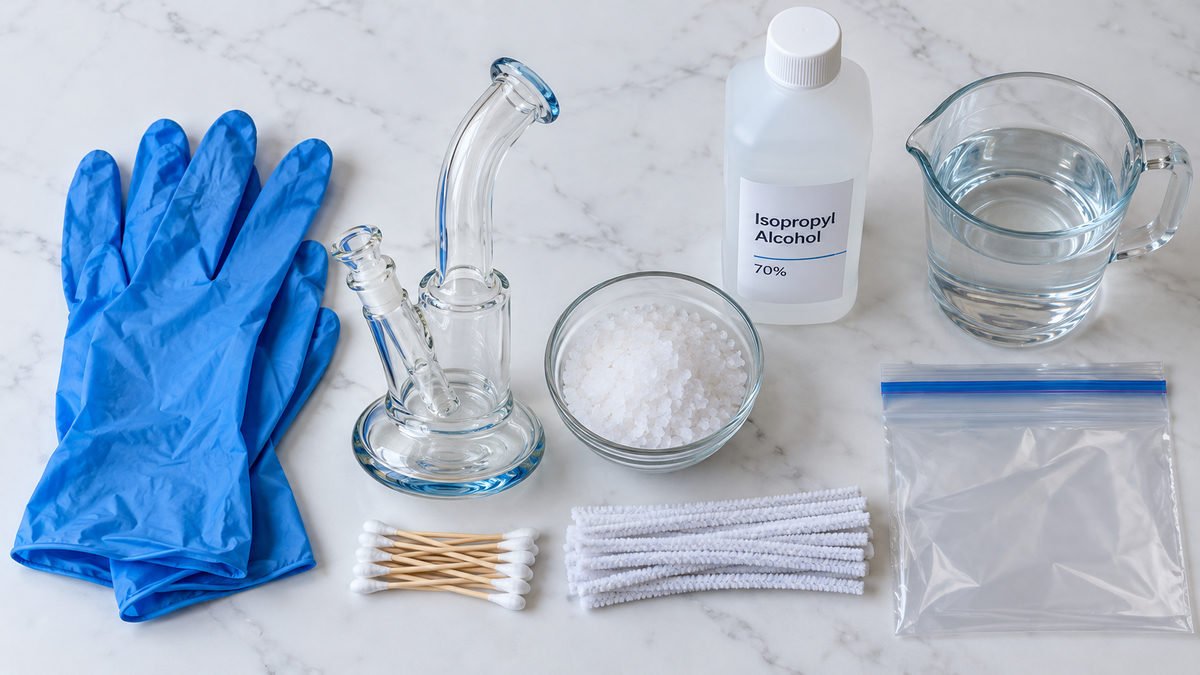
Basic supplies
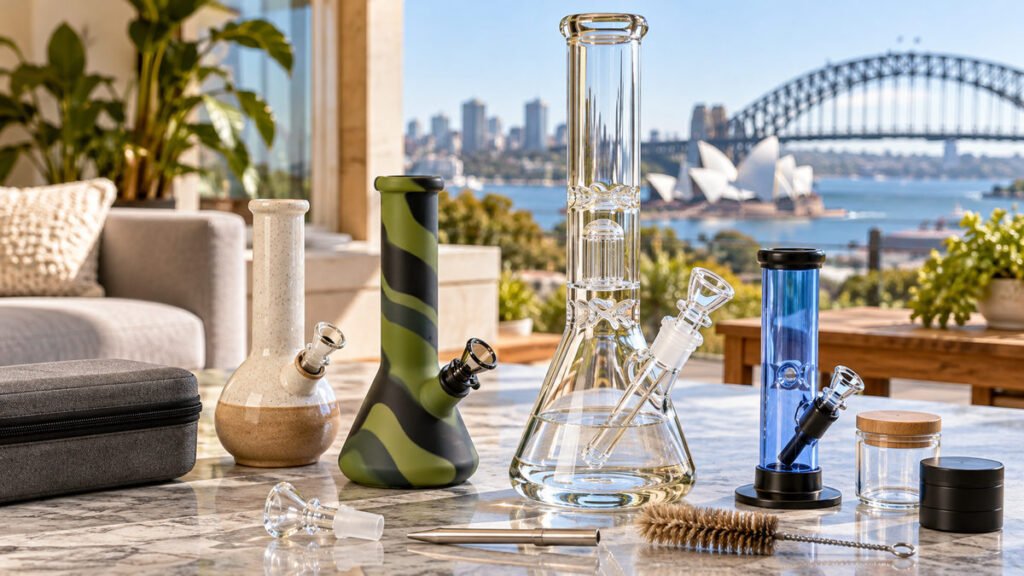
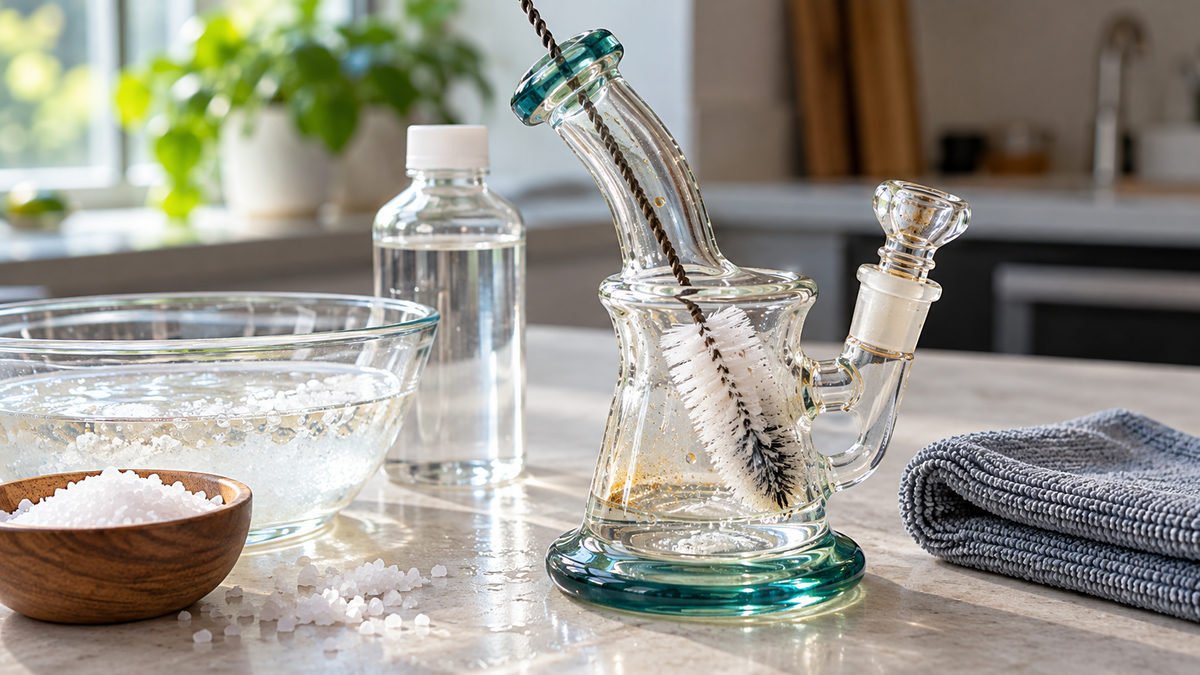
Gather your supplies before opening any cleaning solution. Having everything nearby reduces spills and prevents rushed handling. For most glass bubblers, you will need: See our list of the best bong cleaning accessories.
- 91% or higher isopropyl alcohol.
- Coarse salt, such as rock salt.
- Warm water, never boiling water.
- Nitrile gloves.
- Cotton swabs.
- Pipe cleaners.
- Paper towels.
- A sealable bag or suitable container.
Coarse salt provides gentle mechanical agitation when mixed with isopropyl alcohol. The salt granules help loosen resin as you rotate the bubbler. Meanwhile, the alcohol softens oily buildup around the glass surfaces.
Choose a container that fits the bubbler without forcing it inside. A sealable bag works well for smaller pieces. However, a sturdy container may offer better protection for bubblers with delicate attachments.
Optional supplies
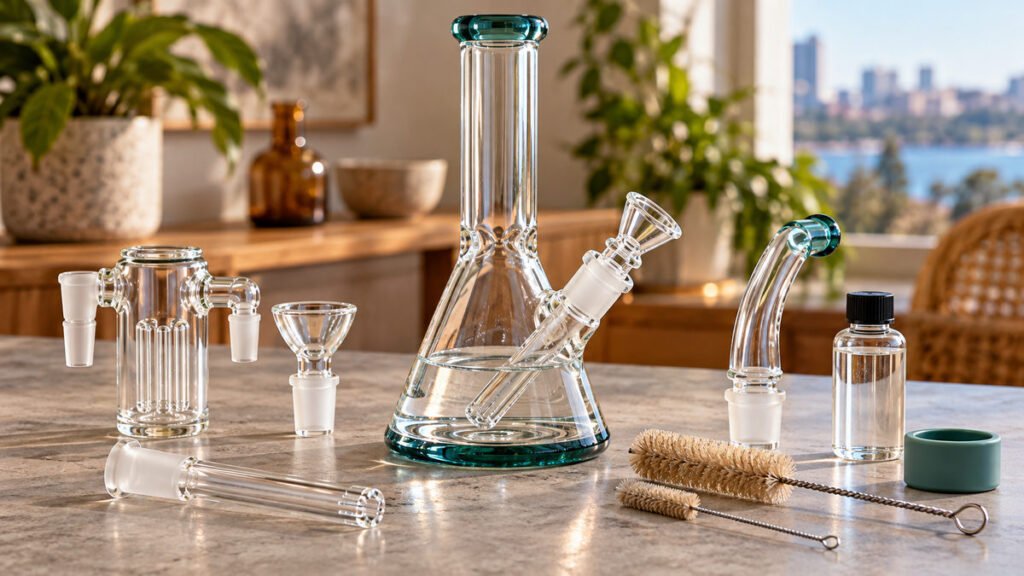
Optional tools can help with narrow openings and stubborn buildup. Consider using soft brushes, wooden picks, cleaning plugs, and a microfiber cloth. You can also choose a purpose-made bubbler cleaning solution designed for glass.
Work in a well-ventilated area with plenty of space. Isopropyl alcohol is flammable, so keep it away from flames, sparks, cigarettes, hot surfaces, and electrical ignition sources. Additionally, keep cleaning products away from children and pets.
Before cleaning, inspect the bubbler carefully. Check for cracks, loose joints, sharp edges, thin sections, and delicate attachments. If you find damage, avoid pressure and do not reuse the piece until it receives proper assessment.
Always empty the bubbler completely before cleaning. Follow local laws and dispose of residue responsibly. Never pour concentrated resin or cleaning liquid where it could affect plumbing, pets, children, or the environment.
Avoid household cleaners that may damage glass or leave unsafe residue. Do not use bleach, ammonia, oven cleaner, acetone, scented detergents, drain cleaner, or abrasive metal tools. Furthermore, never mix household chemicals together.
For additional handling information, review this overview of isopropyl alcohol. It explains why the liquid requires careful storage and use around ignition sources.
3. How to Clean a Bubbler Step by Step
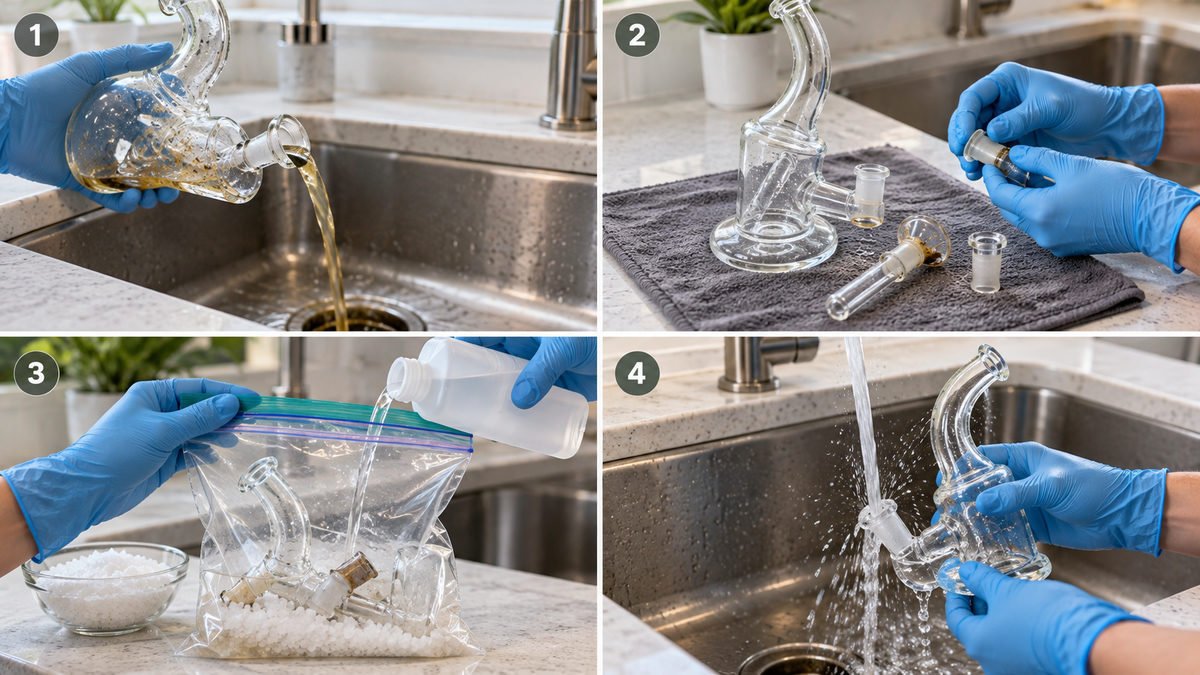
Prepare the bubbler
- Empty the old water. Pour out the used water and remove any remaining material from the bowl. Dispose of residue according to local requirements.
- Remove detachable parts. Take out the bowl, downstem, mouthpiece accessories, and other removable components. Separate each piece carefully if the design allows it.
- Rinse with warm water. Run warm, not boiling, water through the bubbler and removable parts. This loosens fresh residue without creating sudden temperature changes.
Thermal shock can crack glass when hot and cold temperatures change too quickly. Therefore, allow a cold bubbler to warm gradually. Likewise, let a warm piece cool before placing it on a cold surface. The method is similar to how to clean a glass pipe.
Soak and agitate
- Add cleaning solution. Place the bubbler inside a sealable bag or container. Add enough isopropyl alcohol to contact the interior surfaces.
- Add coarse salt. Pour in a small amount of coarse salt. The mixture should move freely without packing tightly into openings.
- Seal the openings. Cover the mouthpiece, joint, and other openings securely. Use cleaning plugs or your gloved fingers where appropriate.
- Rotate gently. Shake and rotate the bubbler slowly so the mixture reaches resin-coated areas. Avoid forceful shaking if the glass is thin or has delicate percolators.
- Allow a moderate soak. Leave the bubbler for approximately 20 to 30 minutes. Stubborn buildup may need fresh alcohol or another treatment.
Do not leave unknown materials submerged for excessive periods. Additionally, check the piece occasionally during longer treatments. Replace the solution if it becomes dark, thick, or heavily saturated with residue.
Scrub blocked areas
- Clean accessible surfaces. Use cotton swabs, soft brushes, or pipe cleaners on the bowl, mouthpiece, downstem, and chambers.
- Target small openings. Use a soft brush, pipe cleaner, or short warm-water flush around bubbler holes and percolator openings.
- Repeat when needed. Use another soak or spot-cleaning treatment for stubborn resin, ash, cloudy film, or restricted airflow.
Use wooden tools only with great care. Never force a pick or pipe cleaner through a tight opening. Otherwise, you could chip the glass or push debris deeper into the airway.
Rinse and inspect
- Rinse thoroughly. Flush every part with warm running water until no alcohol smell, salt grain, cleaner film, or visible residue remains.
- Inspect under good lighting. Check the glass, holes, joints, bowl, and downstem before drying. Look for remaining buildup, cracks, or blocked openings.
Rinsing deserves patience because trapped cleaner can affect taste. Moreover, small salt grains may remain inside percolator chambers. Continue flushing until the water runs clear and the glass feels clean.
4. Cleaning the Bowl, Downstem, Holes, and Clogs
Clean the bowl separately whenever possible. Soak it in isopropyl alcohol, then swab the inside with cotton buds or a soft brush. Clear the air path gently without scratching the glass.
For a removable downstem, begin with a warm-water flush. Next, soak it in alcohol and use a correctly sized pipe cleaner. Therefore, you can loosen residue without forcing tools through narrow channels.
Remove loose ash before deep cleaning. Tap the empty bowl gently over a suitable waste container. Additionally, wipe away loose particles so they do not spread through the chamber during soaking.
To remove resin from a bubbler, rely on repeated alcohol-and-salt treatment. Soft brushing and patience work better than sharp tools. However, hardened deposits may require several short treatments.
Clean bubbler holes with gentle flushing, soft bristles, or brief targeted soaking. Avoid pushing debris deeper into the percolator. Instead, allow loosened residue to exit through the nearest opening.
When a bubbler clogs, identify the blockage first. Check the bowl, downstem, air hole, and percolator openings separately. Then focus cleaning on the blocked area rather than applying excessive force everywhere.
Replace dirty cleaning liquid when it becomes dark or saturated. Contaminated solution becomes less effective against fresh buildup. Furthermore, fresh alcohol reduces the chance of spreading dissolved residue around the glass.
Persistent cloudy glass may have several causes. Repeat the clean with fresh solution, then inspect the film carefully. Resin often feels oily, while mineral deposits may look chalky or remain after alcohol treatment.
5. How to Clean a Bubbler Without Alcohol
Some users prefer to avoid isopropyl alcohol. In that case, use warm water and a purpose-made glass cleaning solution designed for smoking accessories. Follow the product directions exactly and rinse the bubbler completely afterwards. More alcohol-free ideas are in how to clean a water pipe.
Specialised cleaners may work well on resin and mineral film. However, products differ in strength and ingredients. Therefore, never assume a general household cleaner is safe for a bubbler.
For removable parts only, you can try mild dish soap. Choose a fragrance-free, non-abrasive product that suits glass. Additionally, rinse each part repeatedly until no scent, foam, or slippery film remains.
Coarse salt and warm water can provide light mechanical cleaning. This method may help with loose residue and fresh film. However, it usually works less effectively than alcohol against hardened resin.
Never use boiling water, direct stovetop heat, bleach, ammonia, drain cleaner, acetone, or mixed household chemicals. These products can damage glass, create fumes, or leave unsafe residue behind.
Warm water should feel comfortably hot, not extreme. Moreover, glass should never move suddenly from cold to hot or hot to cold. Let the bubbler adjust gradually before rinsing.
After using any alternative solution, flush every chamber and opening several times. Continue until there is no scent, taste, foam, or visible film. Finally, inspect hidden spaces before allowing the bubbler to dry.
6. Rinsing, Drying, Deodorising, and Ongoing Maintenance
Drain the bubbler fully after the final rinse. Place it upside down on a clean towel so water can leave each chamber and opening. Allow it to air-dry completely before storage or reuse. For buying tips, see bubbler pipes in Australia.
Use a clean microfiber cloth only on accessible exterior surfaces. Avoid forced heat, hair dryers, ovens, and direct sunlight. These methods can create uneven heating or leave moisture trapped inside.
Odour removal depends on complete cleaning rather than fragrance. Remove all residue, rinse repeatedly, and dry every chamber. Additionally, store the bubbler in a clean, dry place with fresh airflow.
A practical maintenance schedule keeps cleaning manageable:
- Change the water and rinse after every use.
- Perform a light clean every few uses.
- Deep-clean weekly if you use the bubbler frequently.
- Deep-clean immediately when airflow, flavour, or smell declines.
Prevention also reduces buildup. Use fresh water, avoid overpacking the bowl, and empty standing water after each session. Meanwhile, keep the bubbler covered or upright, and wipe the mouthpiece regularly.
Use this quick-clean checklist after each session:
- Empty the bubbler.
- Rinse with warm water.
- Brush visible residue gently.
- Rinse again.
- Drain completely.
- Air-dry before storage.
Generally, avoid cleaning a bubbler in the dishwasher. High heat, sudden temperature changes, detergent, movement, and contact with other dishes can crack or damage the glass.
If the glass breaks, stop handling it immediately. Keep your hands away from shards, ventilate the area, and dispose of broken glass safely. Never attempt to reuse a damaged bubbler.
Conclusion
The safest way to clean a bubbler starts with emptying it and loosening residue with warm water. Next, use isopropyl alcohol and coarse salt, or a suitable alcohol-free glass cleaner. Gently scrub the bowl and air paths, rinse until completely residue-free, and air-dry the piece fully.
Regular water changes, quick rinses, and scheduled deep cleaning help prevent resin, ash, odours, and clogged holes. Use the quick-clean checklist after each session. Then schedule a deeper clean whenever you notice reduced airflow, harsh flavour, visible buildup, or persistent odour.
For practical care advice and glass accessories suited to your setup, visit Sweet Puff Australia. Keeping your bubbler clean makes routine maintenance simpler and helps you protect the glass you use regularly.